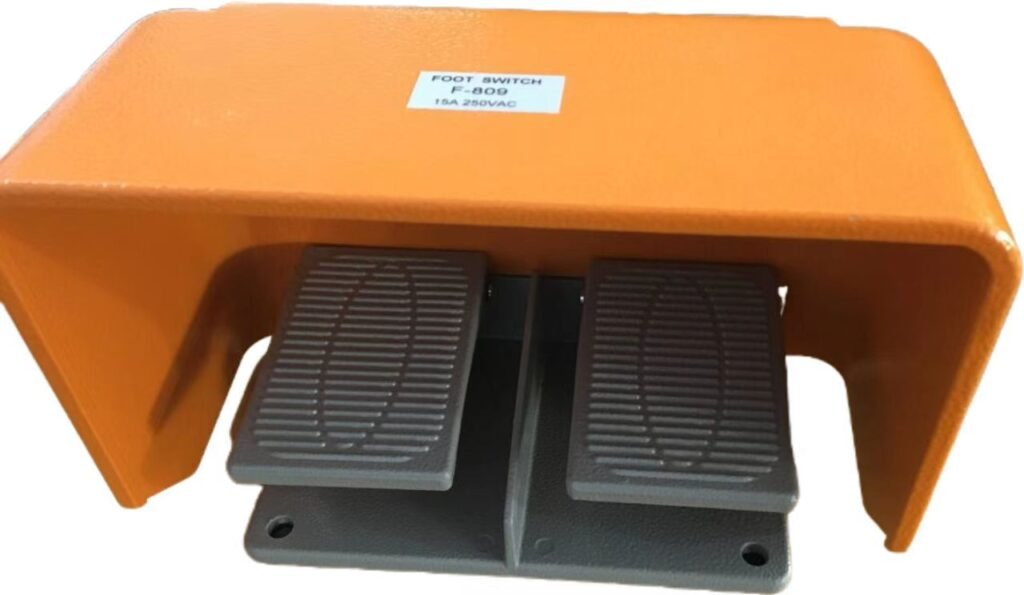
Waterproof Foot Switch Installation Guide – Step-by-Step Process
Learn the correct way to install a waterproof foot switch with this easy guide. Ensure safe, reliable operation in wet environments.

Want to learn more about our products? You can click me.
How to Install a Waterproof Foot Switch Properly
Waterproof foot switches are essential for industrial and medical applications where moisture resistance is critical. Proper installation ensures optimal performance and longevity. Follow this straightforward guide to install your waterproof foot switch correctly.
1. Pre-Installation Preparation
Before beginning your installation:
- Verify the switch’s IP rating matches your environment (IP67 recommended for wet areas)
- Gather necessary tools (wrenches, sealant, cable glands)
- Choose an appropriate location – flat, stable surface with drainage
- Check cable length meets your requirements
Key Tip: Always test the switch before installation to confirm proper operation.
2. Secure Mounting Process
For reliable performance:
Surface Mounting:
- Mark drill holes using the switch base as template
- Use stainless steel fasteners for corrosion resistance
- Apply silicone sealant around base edge for water protection
Flush Mounting (panel installation):
- Cut precise opening matching switch dimensions
- Install rubber gasket for waterproof seal
- Secure with provided locking ring
Important: Avoid overtightening – it may damage the waterproof seals.

3. Electrical Connection & Waterproofing
Ensure safe, waterproof wiring:
- Use proper cable glands for watertight entry
- Strip wires to manufacturer’s specified length
- Connect according to color codes/schematics
- Apply dielectric grease to contacts for moisture protection
Safety Check: Always disconnect power before making electrical connections.
4. Final Testing & Adjustment
Before regular use:
- Test activation with foot pressure
- Verify smooth operation with no sticking
- Check for water leakage with gentle spray test
- Adjust pedal tension if adjustable model
Troubleshooting: If switch fails, recheck connections and sealing.
5. Maintenance for Longevity
Extend your switch’s lifespan:
- Clean regularly with mild detergent
- Inspect seals every 6 months
- Check for cable wear
- Lubricate moving parts if specified

Conclusion: Proper Installation Ensures Reliability
By following these steps, your waterproof foot switch will provide safe, dependable operation in wet conditions. Remember that correct installation directly impacts performance and durability.
For complex installations or special environments, consult with a qualified electrician to ensure complete safety and functionality.
Web:www.cnshuyi.com;
Tel/Fax: 0086-577-62840011
WhatsApp: 008613355775769

